 Firing up the grill turns any meal into an event, and learning to barbecue is surprisingly straightforward when you have the right gear. The difference between an average cookout and a truly great one often comes down to having reliable tools that make things easier, and a whole lot more fun.
If you’re just getting into grilling, you might feel overwhelmed by all the gadgets on the market. Thankfully, you don’t actually need a jam-packed arsenal. With a few basics, you’ll be set for classic burgers, veggies, chicken, and even some creative recipes as you gain confidence.
Here you’ll find an easy breakdown of what every beginner griller should have on hand. These picks are about keeping things simple, safe, and enjoyable from the get-go, so you don’t have to stress about where to start.
Pick Your Grill: Gas vs. Charcoal
The type of grill you choose really shapes your grilling experience. Each style has a personality of its own, and both are completely beginner-friendly with a little practice.
Gas Grills
- Super handy for quick meals. You can turn it on and start cooking within minutes.
- Gives you more consistent heat, which is great when you’re just learning how to manage temperature.
- Cleanup is easier since there’s no ash, just some food drippings and grill grates to handle.
Charcoal Grills
- Perfect for getting that smoky flavor classic to backyard barbecue.
- Takes a little more time to heat up and cool down, so planning ahead helps.
- Managing charcoal teaches you how to control heat zones, which comes in handy for bigger cooks in the future.
If you want something portable or live in an apartment where open flames are restricted, a compact electric grill or a tabletop gas version can be a smart alternative for their convenience and ease of use.
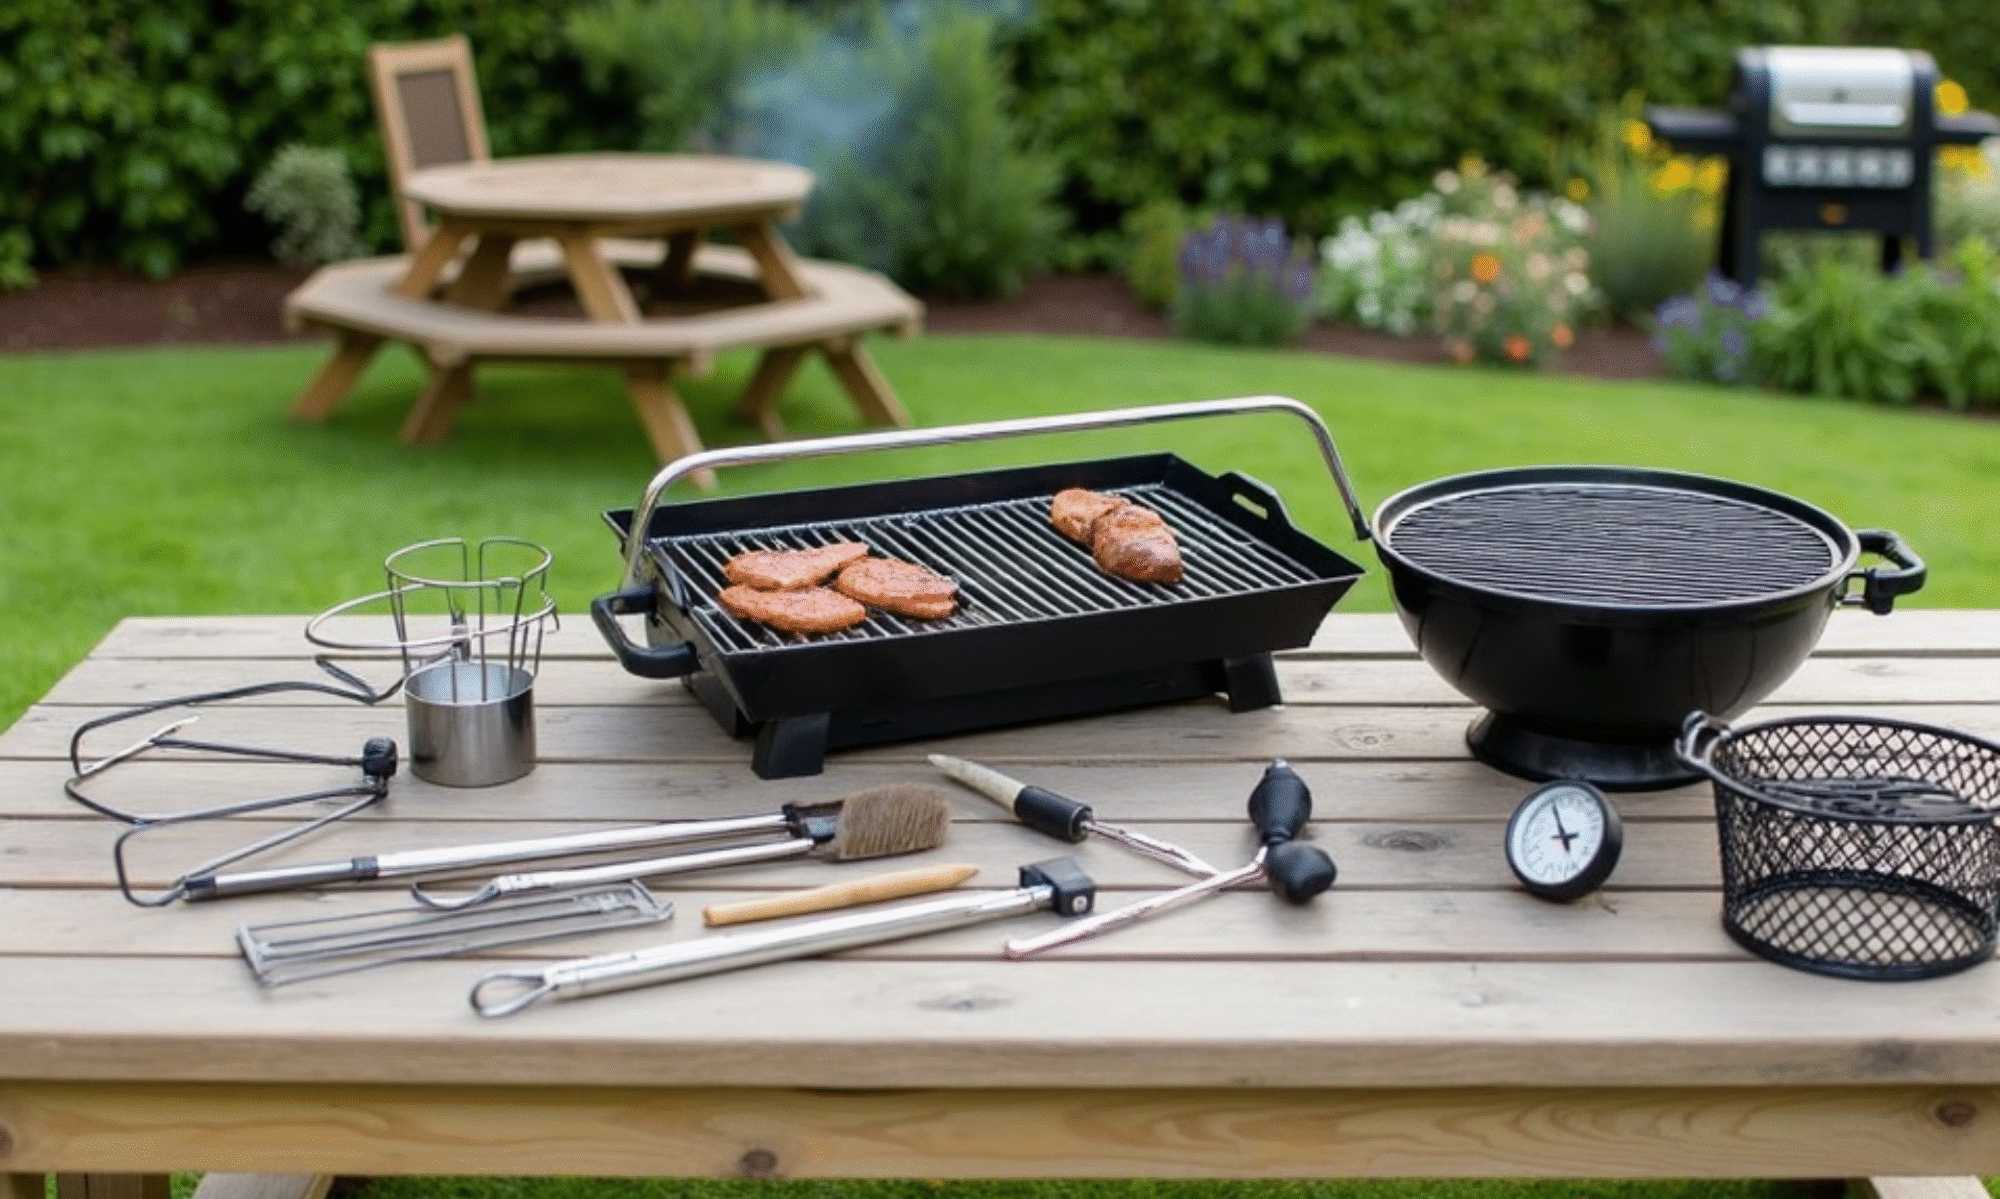
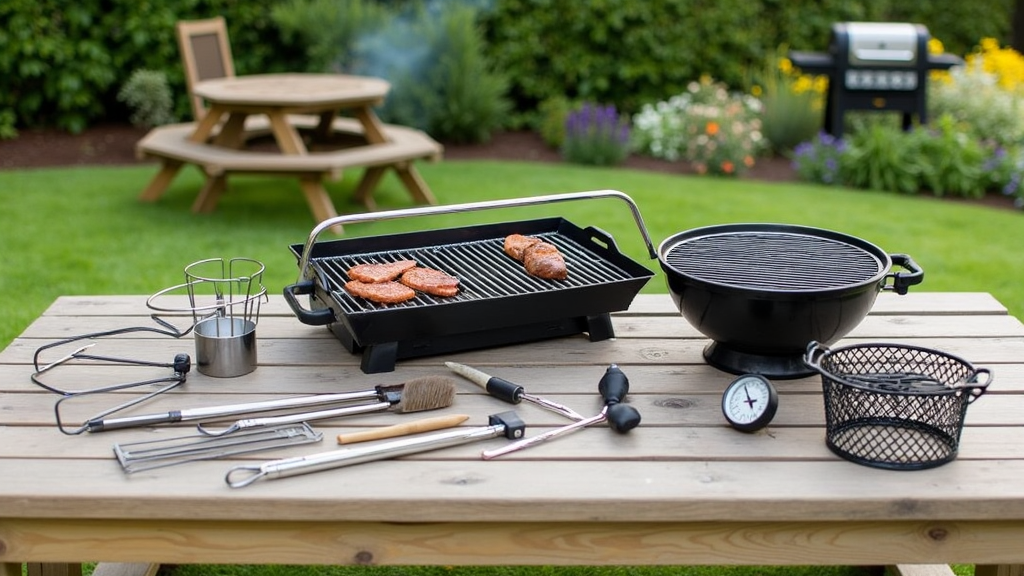
Grill Tools Every Beginner Needs
Some grilling tools are just for show, but a few key pieces of gear truly give a boost for anyone new to grilling. Here are the basic tools you’ll reach for every single time.
Long-Handled Tongs
- Your go-to for flipping anything: sausages, veggies, or steaks, without getting your hands too close to the heat.
- Look for sturdy tongs with a locking mechanism for easy storage.
Sturdy Spatula
- Great for flipping burgers, moving delicate fish fillets, or sliding pizza off the grill.
- A wide blade and long handle work well together.
Grill Brush
- Cleaning your grill before and after cooking keeps food from sticking and prevents old bits from burning onto your new meal.
- Bristle-free brushes, like those with twisted wire coils or scouring pads, are a safer pick these days.
Meat Thermometer
- An instant-read digital thermometer takes the guesswork out of grilling chicken, pork, or thick steaks.
- Temperature checks mean juicy, safe food every time.
Heat-Resistant Gloves
- These save your hands when checking coals, moving grates, or working with cast iron pans on the grill.
- Look for gloves rated for high temperatures with a solid grip.
Additional Gear That Makes Grilling Smoother
You don’t have to buy everything at once. However, a couple of these extras can come in handy as you try new recipes, or if you want to step up your grilling game.
Chimney Starter (For Charcoal Grills)
- Forget lighter fluid; chimney starters let you light coals with just paper and a match, giving you consistent heat safely and quickly.
- Most beginners find this tool helpful for even lighting every time.
Aluminum Drip Pans
- Placing a drip pan under the food or in between coals makes indirect cooking easy and keeps your grill cleaner.
Grill Basket or Skewers
- Baskets are handy for veggies, shrimp, or anything that might fall through the grates.
- Metal or flat bamboo skewers make kabobs simple and enjoyable, and keep food from spinning when you turn them.
Spray Bottle (Filled with Water)
- Helps manage flare-ups if fat drips into the flames.
- Just a quick spritz will reduce small flareups, keeping food from burning.
Grill Light
- This is useful if you find yourself grilling after sundown or in cloudy weather.
- Clip-on or magnetic lights typically allow you to see what you’re doing, no matter the time of day.
Grill Setup & Prep Tips
Getting your grill ready doesn’t have to be complicated. A few easy steps make a world of difference, especially while you’re still getting comfortable.
- Check your fuel supply: Propane tanks and charcoal both run out quicker than expected. Always check before you start cooking.
- Oil your grates: This little trick keeps food from sticking. Dab a paper towel in oil, grab it with tongs, and rub it across the hot grates before putting food down.
- Preheat your grill: Give your grill 10-15 minutes to reach a good searing temperature (about 400-450°F for high heat). Doing this helps cook food evenly and makes grill marks easier to achieve.
It can help to set up your ingredients and tools near the grill before you begin. Having everything ready means you won’t have to dash back indoors for forgotten spices or a spatula. Having a little table next to your grill can give you a nice workstation for platters and sauces. For families, designating one person to be the grill helper ensures teamwork and safety.
Safety Gear & Best Practices
Grilling is loads of fun, but a few practical safety moves can save you from unwanted surprises. Here’s what I’ve found works best:
- Fire extinguisher or baking soda: Keep one close at hand; never use water to try putting out a grease fire.
- Sturdy grill mitt or gloves: These are essential for avoiding burns when working over hot spots or grabbing hot grill grates.
- Grilling on a flat, open area: Place your grill on level ground, at least 10 feet away from anything flammable like fences, trees, or buildings.
- Don’t leave the grill unattended: Fires can start quickly, so staying close by is always a good idea.
Keep your long hair tied back and avoid loose-fitting sleeves. It’s helpful to have a spray bottle or glass of water nearby for yourself to stay hydrated, especially on hot days. Also, make sure kids and pets aren’t in the grilling area while you cook. Taking these precautions helps you jump into grilling with greater peace of mind.
First Grilling Recipes: Simple Wins
The best way to take your grilling up a notch is simply to start! I always recommend beginners try these easy wins:
- Burgers & Hot Dogs: These are classics—quick, forgiving, and crowd-pleasing. Toss them on and flip once. Add cheese during the last minute for extra flavor.
- Veggie Skewers: Bell peppers, onions, mushrooms, and zucchini grill beautifully with just a little oil, salt, and pepper. Try switching things up by adding cherry tomatoes or pineapple.
- Marinated Chicken Thighs: Chicken thighs stay juicy and are harder to dry out than breasts, making them a great first choice. Give them a fast marinade—olive oil, lemon, garlic, salt, and pepper does wonders—then grill over medium heat, turning every few minutes until the internal temp hits 165°F.
Once you have these down, you’ll be ready to try steaks, salmon, or even pizza. Grilling invites creativity, so don’t hesitate to try new toppings or seasoning blends as you grow more confident.
FAQs for Beginner Grillers
What’s the easiest grill to start with?
Gas grills are the easiest for most people since they heat up quickly and are easy to control. If you enjoy exploring smoky flavors and don’t mind a bit more cleanup, charcoal grills are a fun option—even for beginners.
How do I clean my grill after cooking?
- Turn the grill up to high for 10 minutes to burn off stuck bits, then clean the grates with your grill brush.
- For a deeper clean, remove grates after they’ve cooled and soak them in warm, soapy water.
How often should I replace my tools?
Most grilling tools last a long while if you clean and dry them after each use. If anything becomes warped, rusty, or starts falling apart, it’s time for a new one to keep grilling safe and easy.
Stay Chill & Have Fun
Jumping into grilling is as much about enjoying the outdoors as it is about serving up tasty food. With quality equipment, a relaxed mindset, and a bit of practice, you’ll be pleasing friends and family with backyard favorites sooner than you think.
Your Grilling Starter Checklist:
- Choose a straightforward gas or charcoal grill that fits your space and needs.
- Gather the must-have tools: tongs, spatula, grill brush, heatresistant gloves, and a thermometer.
- Set up your space, begin with easy recipes, and stay relaxed—grilling is all about good times!